
How to Replace Your Battery Cables (Step-by-Step)

Corroded battery cables cause more no-starts, flickering electronics, and mystery voltage drops than failed batteries do — especially on vehicles 15+ years old. The good news: replacing battery cables is a hand-tools job you can do in a driveway in an afternoon. Here's the full process, plus the shortcuts that make it a 45-minute job instead of a weekend one.
Signs Your Battery Cables Need Replacing
- Slow or inconsistent cranking, especially cold — the classic starter-cable symptom.
- Green or white crust at the terminals or creeping up under the insulation (corrosion wicks up inside the cable where you can't see it).
- Dim headlights at idle, resetting radio, erratic gauges.
- Voltage drop test: more than 0.3V between battery post and starter feed while cranking means the cable is done.
Tools and Materials
- Wrench/socket set (8–13mm covers most terminals and grounds), battery terminal puller if clamps are seized.
- Wire brush or terminal cleaner, baking soda solution for corrosion cleanup.
- Replacement cables — matched to your vehicle and gauge (see our wire size guide), plus new terminals if the factory clamps are corroded.
- Dielectric grease or terminal protectors for the finished install (see our terminal grease guide).
Step-by-Step Replacement
1. Disconnect negative first. Always. Removing the negative first means a slipped wrench can't short battery positive to ground. Then disconnect the positive.
2. Photograph everything before removal. Every cable route, every ground point, every fuse-box connection. Old cables have a way of being forgotten before the new ones go on.
3. Remove one cable at a time. Follow each cable end to end — alternator to battery, battery to starter, grounds to block, frame, and body. Starter access is usually the hardest part; on many Jeeps it's easier from underneath with the vehicle safely supported.
4. Clean every contact surface. Grounds only work bare-metal to bare-metal. Wire-brush ground points to bright metal before attaching the new cable.
5. Route and secure the new cables. Follow the factory routing, away from exhaust and moving parts, and secure with clamps or ties every 12–18 inches so vibration can't chafe the insulation.
6. Torque, don't gorilla. Snug terminal and lug hardware firmly — loose connections create resistance, but over-tightening cracks battery posts and strips starter studs.
7. Reconnect positive first, negative last. The reverse of removal. Then start the vehicle and verify 13.5–14.5V at idle at the battery.
The Hard Parts (and the Shortcut)
The steps above are simple. The parts that turn this into a weekend project are: figuring out the correct length for each of seven cables, sourcing true OFC copper cable, crimping ten or more lugs with a proper crimper (a $100+ tool you'll use once), and sealing every joint against moisture, If you're deciding between a Big 3 vs Big 7 battery cable upgrade, it's worth understanding which approach best fits your vehicle before you begin. Get one crimp wrong and you've built a new voltage drop into a brand-new cable.
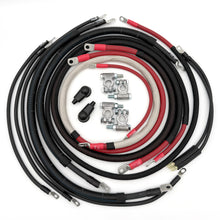
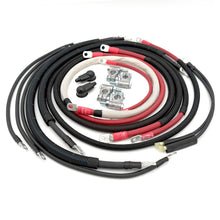
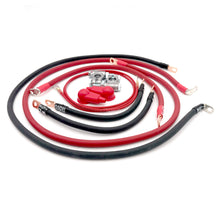
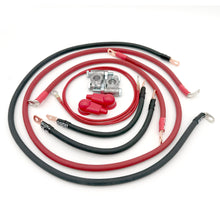
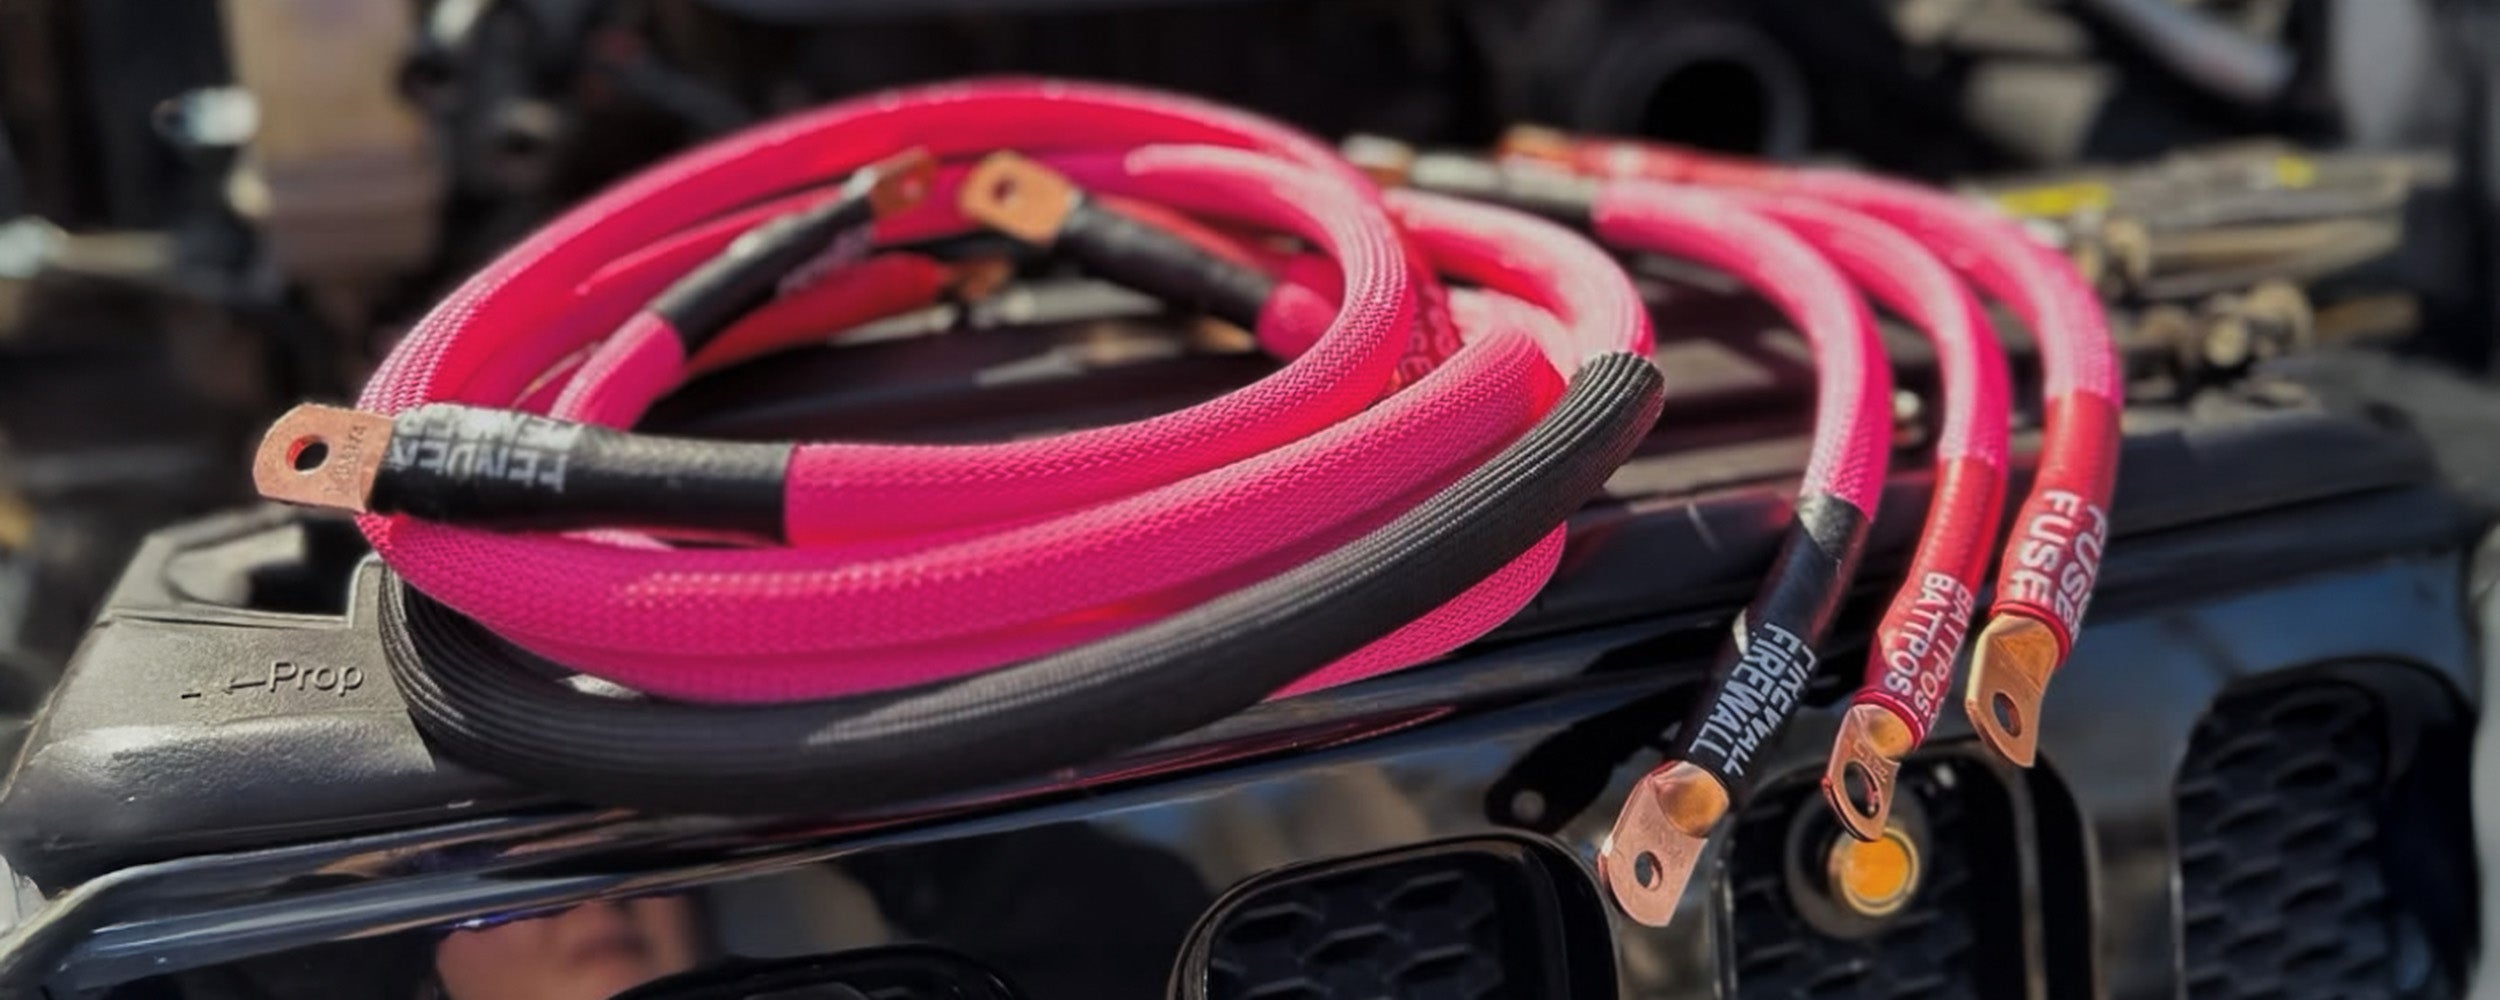
That's exactly why our Big 7 kits exist: every cable comes pre-cut to your vehicle's factory routing, pre-terminated with gas-tight crimps, sealed in MIL-spec heat shrink, and labeled ends letting you know where the cables go. The whole install is the fun part of the job above (unbolt old, bolt on new) with none of the fabrication. Most customers finish a full 7-cable swap in under an hour or two.
Frequently Asked Questions
How much does battery cable replacement cost?
Shops commonly charge $250–$600+ depending on access; a vehicle-specific kit plus an afternoon costs a fraction of that.
Should I replace all the cables or just the bad one?
If one factory cable is corroded, its siblings are the same age and condition. Replacing the full set once beats chasing failures one cable at a time.